* Georges and Basic Shapes Cricut cartridge (circles and letters)
* Dinosaur Tracks Cricut cartridge (Dino tags)
* South Beach paper pad (used the Orange Green and Blue only)
* White and Black cardstock (Michaels)
* Blue and Green ribbon (Michaels)
* Paper Clips (Dollorama)
* Random adhesives (scotch tape, glue stick and liquid glue stick)
Started off by making 2 sizes of circles. The colored ones are 5inches (as per Cricut sizing), and the smaller white ones are 4 inches. The letters were printed using the shadows of the George letters, in 3 and a half size (a few are bigger, but not by much). We wanted to be funky, so we put the circles at the edges, rather than right in the middle, and left the letters centered. I love the effect it gave us!
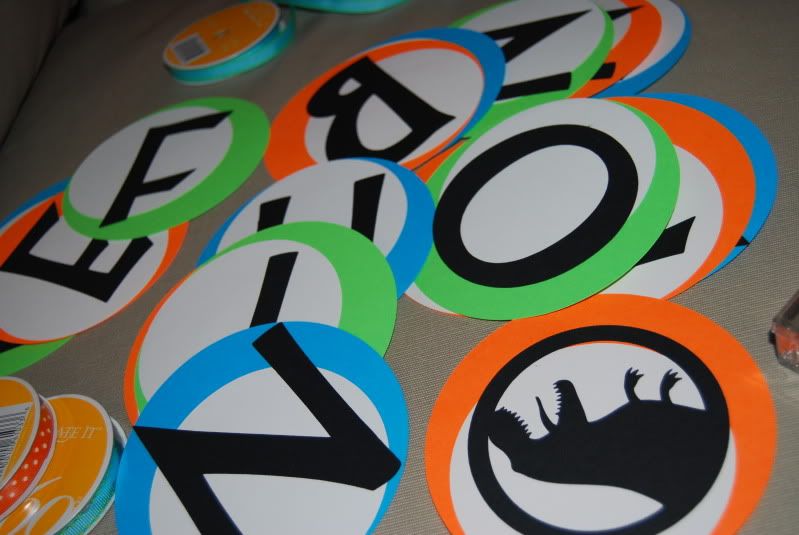 |
| Our letters and fun Dinosaurs. You can see the ribbon on the side too. |
To hang them, we debated a few things. Since a few of the letters are very close to the top, our original idea of making slots and pass the ribbon right through was quickly shot. Hubby came up with the solution of just hanging them with paper clips! I do love the idea, and it's working out quite well. No worry of tearing, and we can easily re-use the ribbon after too. I can't wait to hang them for his birthday!! :)
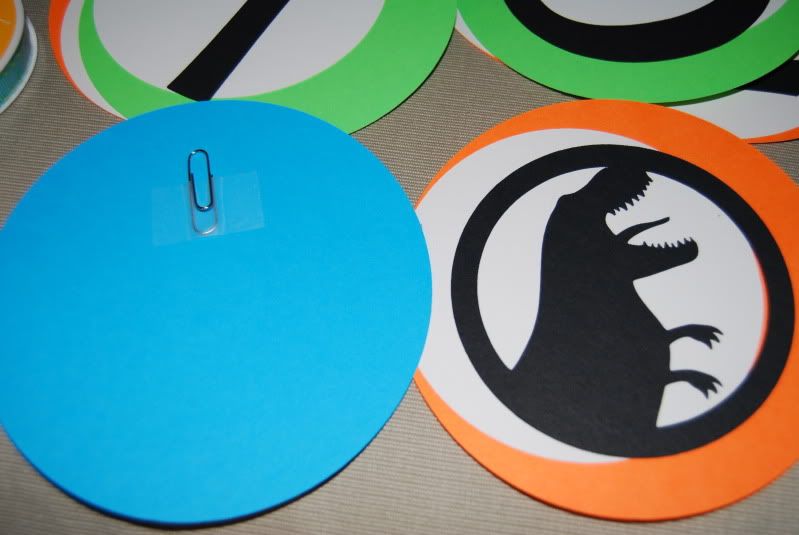 |
| Close up and the paper clips. Nothing fancy, but it works. |
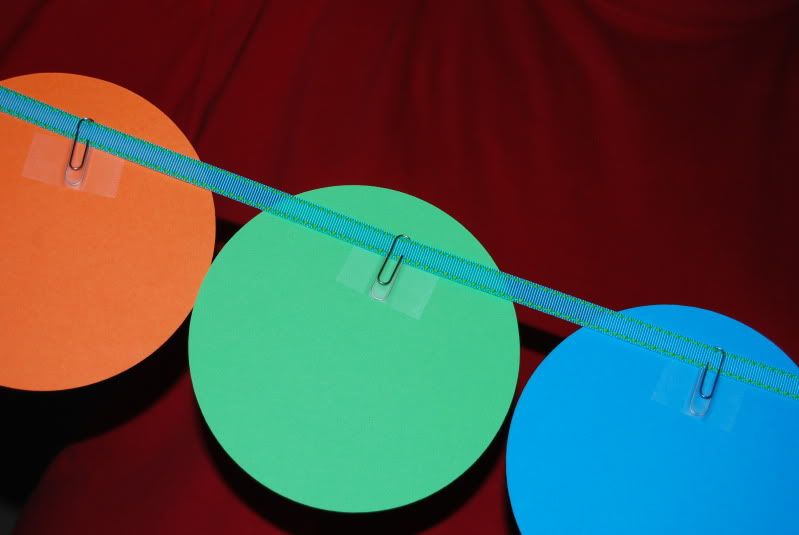 |
| See? Not bad, huh? |
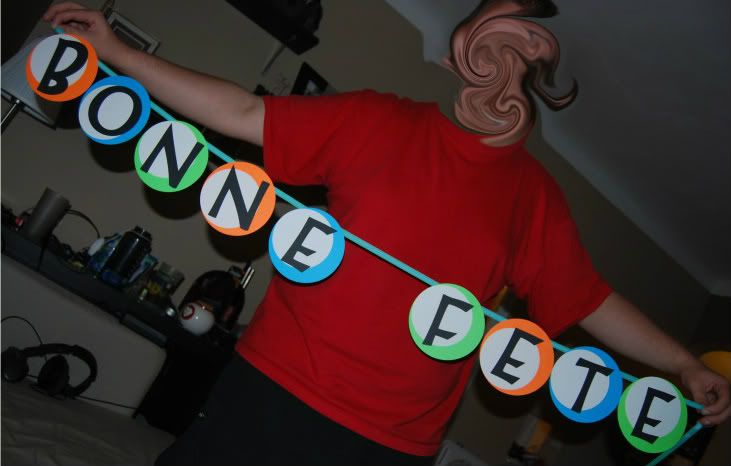 |
| First part of our great banner. |
| Second portion. They will be hung one on top of the other. |
So, worthy of Pinterest? Teehee!
Cheers,
Very cute!!! I love the paperclip idea.
ReplyDelete... your hubby's face looks a lil' weird. :P